
Demystifying Plant Root Systems: How to Assess Root Health

Root Structure and Function: More Than Just “Absorbing Water”
Most people’s impression of roots stops at “holding the plant in soil and absorbing water.” That’s not wrong, but root systems are far more sophisticated than this simple description.
Absorption Roots: The Plant’s Nutrient Straws
Those fine, white or pale root hairs in the soil are the plant’s absorption roots. Root hairs are extensions of epidermal cells, and the total length of root hairs on a single plant can reach hundreds of kilometres. This astonishing surface area enables efficient water and mineral absorption from the soil. Root hairs are incredibly delicate — expose them to air and they desiccate and die within minutes, so minimise root exposure time when repotting.
Storage Roots: The Plant’s Emergency Rations
Some plants have evolved thick, fleshy storage roots, like those of Monstera deliciosa and Alocasia species. These swollen roots store large quantities of water and nutrients, sustaining the plant through harsh conditions like drought or cold. When you see a plant’s stem base swelling into a tuberous mass, that’s it preparing emergency provisions for itself.
Aerial Roots: Roots That Reach for the Sky
Aerial roots, common in tropical foliage plants, are products of rainforest environments. In dense understories where light and nutrient competition is fierce, many climbing plants (like Philodendron and Epipremnum aureum) evolved the ability to produce roots from stem nodes. These roots grip bark to climb upward while also absorbing moisture and nutrients from humid air. At home, aerial roots can be guided back into soil to become absorption roots, or wrapped in sphagnum moss for air layering propagation.
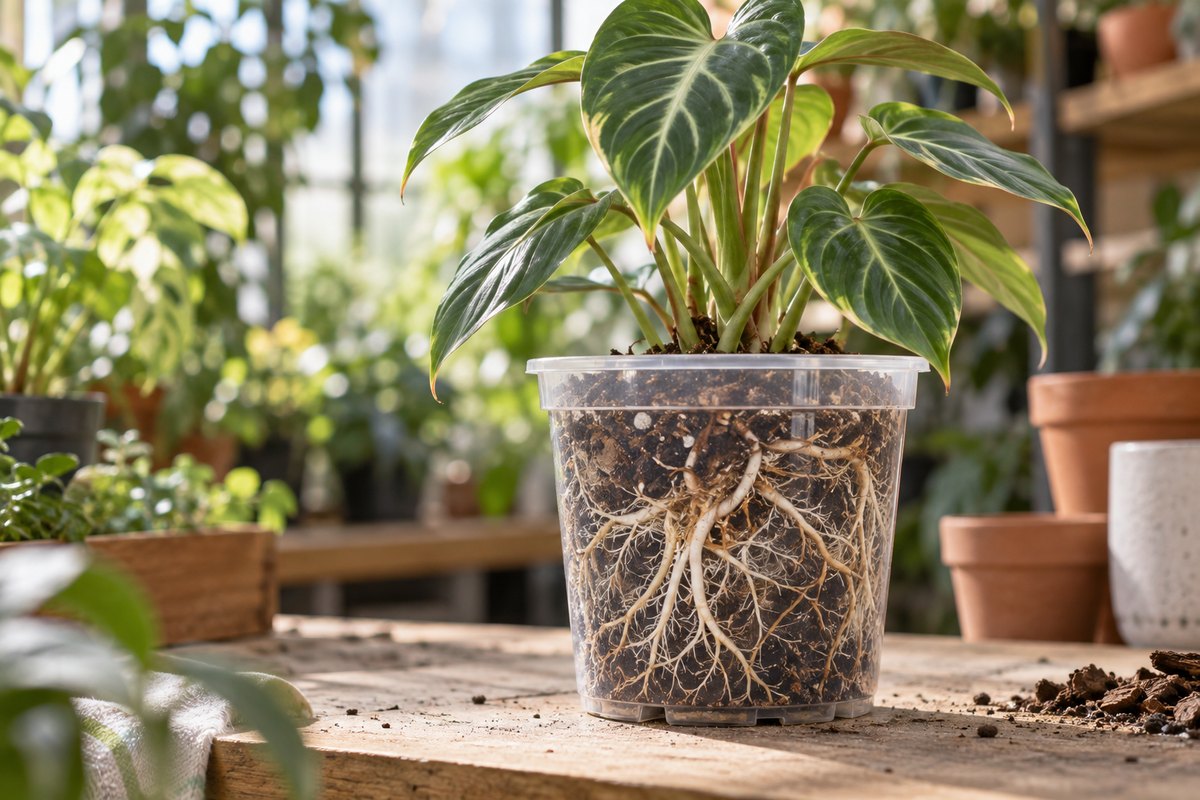
What Healthy Roots Look Like: White, Plump, and Springy
A plant with healthy roots, once removed from its pot, will show:
– Colour: Fresh roots are white or pale cream, ageing to light yellow or light brown — all perfectly normal.
– Texture: Plump and springy, with a water-filled firmness when gently squeezed, like a fresh rice noodle.
– Distribution: Evenly distributed throughout the soil ball, radiating outward from the centre without obvious circling or clumping.
– Root tips: Healthy tips are white with fine root hairs, appearing fluffy and soft.
At the Specimen Archive, whenever I inspect a pot with beautiful roots, I can’t help but pause and admire for a few extra seconds — those clean, plump white roots are the best evidence of a grower’s skill.
Signs of Unhealthy Roots: When Roots Cry for Help
Brown and Black Roots: Oxygen Deprivation Alarms
When roots turn dark brown or black, root cells are already dying. This is usually the result of overwatering and oxygen starvation. The internal tissue (stele) has necrosed and lost its absorption function.
Soft, Mushy Roots: Advanced Root Rot
If roots deform, split, or ooze brown liquid with gentle pressure — that’s root rot in its classic form. Rot typically comes with a foul, decaying odour, caused by oxygen deprivation combined with anaerobic soil pathogens like Pythium and Phytophthora. By this stage, the upper plant is already showing clear symptoms: yellowing leaves, drooping, and stalled growth.
Desiccated Roots: Evidence of Thirst
Roots that have turned brown, paper-thin and brittle, crumbling at the slightest touch — this is the result of prolonged underwatering. Though similar in colour to rotted roots, the texture is completely different: rotted roots are mushy; desiccated roots are crispy. Telling them apart is crucial because the treatments differ entirely.
Circling and Girdling Roots: The Pot Is Too Small
When roots outgrow their container with nowhere to go, they begin circling along the pot walls, forming concentric loops (becoming root-bound). Severe root binding squeezes out nearly all soil, so water channels down the gap between the pot wall and the root mass without penetrating — leaving the plant perpetually stuck between drowning and dying of thirst.
Root Ball Inspection During Repotting: The Specimen Archive Standard Procedure
Repotting inspection is the best opportunity to assess root health. Here’s how our team operates:
Step 1: Remove from Pot
Unpot 1–2 days after watering when the media is slightly moist but not saturated. Gently tap the pot walls to loosen the root ball, then ease it out carefully. Never pull hard on the stem — you risk snapping roots.
Step 2: Examine Outer Roots
First inspect the roots around the soil ball’s exterior. White root tips growing outward indicate healthy, active roots. If the exterior shows only brown old roots or circling roots, intervention is needed.
Step 3: Gently Tease Open the Media
Use your fingers to gently loosen bottom media and inspect the centre of the root system. Healthy roots should radiate evenly from the centre outward. If the centre contains numerous black, mushy roots, root rot is confirmed.
Step 4: Determine Treatment
– Healthy roots → Repot into a slightly larger container with fresh media
– Mild circling → Gently tease apart outer circling roots; trim excessively long circling roots if necessary
– Severe binding → Vertically slice the bottom of the root-bound mass with a knife to stimulate new outward root growth
– Root rot → Enter emergency mode (see next section)
Root Rot Emergency: Pulling Plants Back from the Brink
Root rot treatment is one of the Specimen Archive’s most common emergency services. Here’s the rescue protocol:
Step 1: Thorough Pruning
Cut away ALL brown, black, and mushy roots — every single one. Yes, it’s brutal, but leaving any rotted tissue allows the rot to continue spreading. Use sharp, sterilised scissors or blades; cuts must be clean. For some genera like Philodendron, even just one or two healthy roots remaining offer a chance of recovery.
Step 2: Disinfection
Soak the trimmed roots in diluted fungicide solution for 15–20 minutes. Options include:
– Hydrogen peroxide (3% medical grade diluted 1:1 with water)
– Bacillus subtilis preparations (biological fungicide, gentler)
– Professional root fungicides (diluted per manufacturer instructions)
The goal is killing pathogens remaining on root surfaces, preventing rot recurrence.
Step 3: Replace with Fresh Media
Never replant in the old soil! It’s loaded with pathogens and decay residues. Use completely fresh, clean media — preferably a well-draining mix (with extra perlite or akadama), because damaged roots are extremely sensitive to waterlogging during recovery.
Step 4: Downsize Pot and Reduce Watering
A plant with rotted roots has far less root mass and doesn’t need a large pot. Move it to a pot one size smaller so roots can colonise the new media faster. Water less frequently than usual, allowing media to dry thoroughly between waterings. Place in bright indirect light — avoid strong direct sun that adds stress to an already struggling plant.
Step 5: Patience
Root recovery takes time. Typically 2–4 weeks before new root growth begins. Don’t fertilise during this period — let the plant focus all energy on repair. New leaf emergence is your signal that the rescue succeeded.
Managing and Utilising Aerial Roots
Guiding Into Soil
For climbing plants, aerial roots can be guided into the potting mix. Once these roots enter soil, they convert into normal absorption roots, dramatically enhancing the plant’s uptake capacity and stability. At the Specimen Archive, we regularly help customers bury their pothos’ or Epipremnum‘s aerial roots — the growth acceleration that follows often surprises people.
Sphagnum Moss Pole Propagation
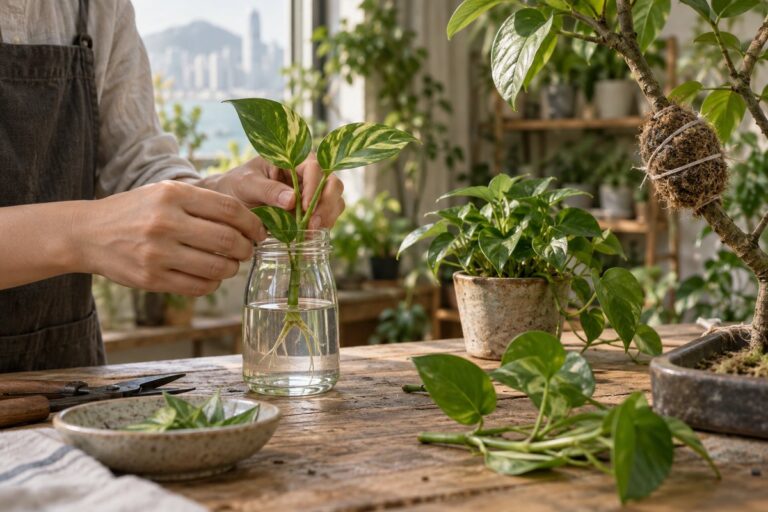
For philodendrons or monsteras with aerial roots, wrap sphagnum moss around stem nodes. Aerial roots will grow into the moss and absorb water from it, while also creating perfect propagation points — once aerial roots are sufficiently developed, cut below the node for an already-rooted new plant.
Methods for Promoting Root Development
Proper Wet-Dry Cycling
As discussed in our previous article, the “dry then soak” watering rhythm stimulates roots to grow deeper, forming a stronger root ball.
Choose Aerated Media
Roots need oxygen, and media breathability directly affects root development. Dense garden soil restricts root expansion, while mixes incorporating perlite, bark, or akadama create superior environments for root growth.
Moderate Fertilisation
Root growth requires phosphorus. Choose fertilisers with higher phosphorus content (higher P value in N-P-K ratios) and apply moderately during the growing season to promote root development. But don’t overdo it — concentrated fertiliser “burns” roots, producing the opposite effect.
Conclusion
Roots are a plant’s soul, and the aspect most easily overlooked by growers. Next time your foliage plant’s leaves show abnormalities, consider performing a repotting inspection and see what’s happening in the world beneath. Remember the Specimen Archive’s words: “The highest level of growing isn’t about how green the leaves are — it’s about how white the roots are.”
If you’d like us to perform a professional root health check, bring your plant to the PLANTJAI Specimen Archive in Causeway Bay. Our team will conduct a comprehensive root system diagnosis and provide tailored care recommendations.
Browse [plantjai.com](https://plantjai.com) for more scientific care knowledge, and let’s grow truly healthy plants starting from the roots.
The Specimen Curator, writing from Causeway Bay
“Good growers look at roots; average growers look at leaves.”
IN STORE NOW
Plants for this guide
Related plants in stock now — live prices, delivery or Causeway Bay pickup.
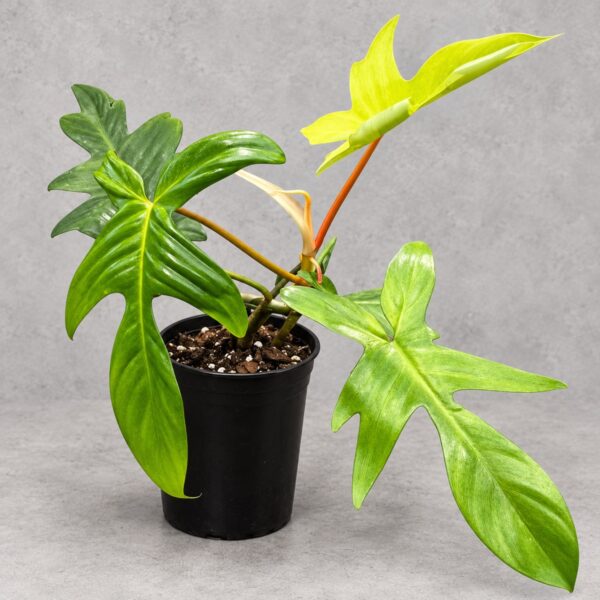
Philodendron 'Florida Ghost'
Philodendron 'Florida Ghost'
from HK$118.00
In stock · store pickup
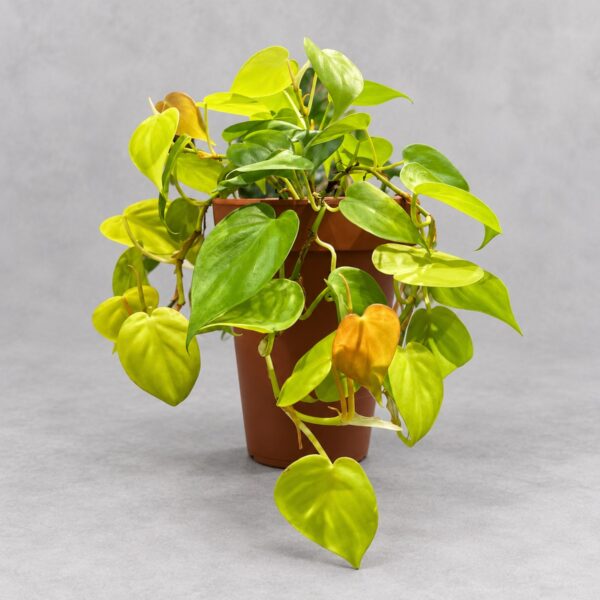
View plantPhilodendron hederaceum 'Lemon Lime'
Philodendron hederaceum 'Lemon Lime'
HK$198.00
In stock · store pickup
View plant
FREE PLANT ADVICE
Send us a photo before you change anything
WhatsApp a photo of the plant and your window light. Our Causeway Bay team will suggest care steps or plants that suit your space.
STORE · CAUSEWAY BAY
4/F, 39 Yiu Wa Street, Causeway Bay
Daily 12:30–8:00pm · ~3 min walk from Times Square
Map & directionsPlant 101