

Propagation Laboratory: The Principles and Practice of Cuttings, Layering, and Division

Introduction
The most exciting moments in the Archive aren’t when a new plant arrives—it’s when a cut stem produces its first white root. That feeling is like witnessing a tiny but spectacular miracle of life.
Many people think plant propagation is a skill for experts only. It absolutely isn’t. Once you understand the principles behind it, plus a little patience, even those jokingly called “plant killers” can successfully multiply their green collection. In this article, we enter the Propagation Laboratory, breaking down four common propagation methods—from scientific theory to hands-on practice, guiding you step by step to become a plant “midwife.”
The Science of Propagation: The Magic of Cellular Totipotency
In the animal kingdom, a severed limb doesn’t regrow. Plants are different—nearly every plant cell carries the complete genome and, theoretically, can develop into an entire plant. This is “cellular totipotency.”
When we cut a stem or a leaf, cells at the wound site receive “injury” signals and activate regeneration mechanisms. Under appropriate temperature, humidity, and light conditions, these cells redifferentiate, producing adventitious roots and adventitious shoots, eventually forming an independent new individual.
Sounds like science fiction? This is how plants have reproduced in the wild for hundreds of millions of years. We’re simply mimicking natural conditions in the laboratory.
Stem Cuttings: The Most Common and Efficient Propagation Method
Stem cuttings are the most widely used foliage plant propagation technique, suitable for species whose stems readily produce aerial roots, including Philodendron, Epipremnum, Pothos, and Schefflera.
Selecting the Perfect Cutting
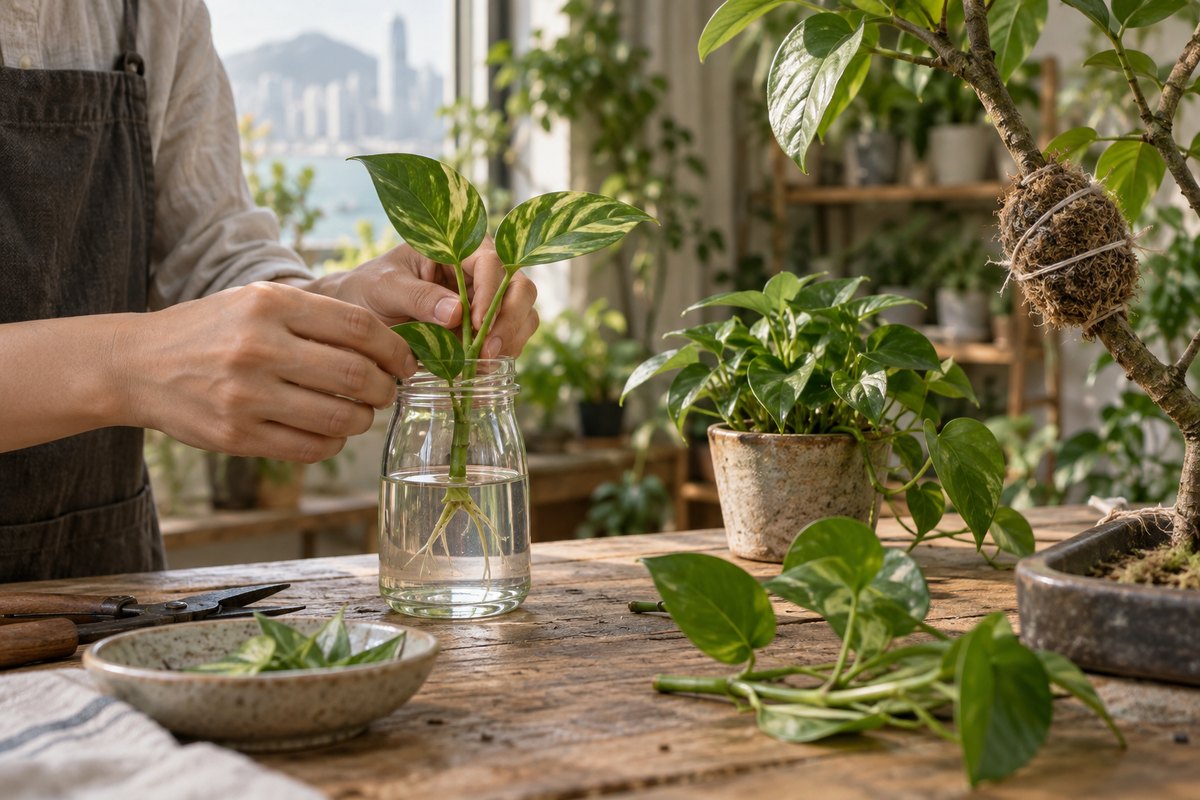
Find a healthy stem section with two to three nodes—nodes are where leaves meet the stem, and they’re where roots most readily emerge. With sterilised scissors or a blade, make an angled cut about one centimetre below a node. The angled surface increases water absorption area.
Leave one or two leaves on the cutting, but trim large leaves in half to reduce water loss. If the cutting is long, it can be divided into multiple sections, each with at least one node.
Water Propagation Transitioning to Soil
Water propagation is the most intuitive method. Place the cutting in clean water (ensure the bottle opening doesn’t compress leaves—only the stem section contacts water), positioned in bright, indirect light. Change the water every three to four days to maintain cleanliness. Typically within one to three weeks, white root tips will emerge from the nodes.
Once roots reach three to five centimetres, transplant into soil. Keep the soil lightly moist initially, giving roots time to adapt from water to soil. For the first two weeks, covering the pot with a clear plastic bag creates a high-humidity environment, reducing transplant shock.
Direct Soil Cuttings
Experienced growers can insert cuttings directly into moist propagation mix (typically peat moss mixed with perlite in a one-to-one ratio). Keep the soil lightly moist and the environment warm—success rates are also high. The downside: you can’t observe root progress and need a little faith.
Leaf Cuttings: Creating Miracles From a Single Leaf
Not every plant can be propagated from leaves, but certain species can produce complete new plants from a single leaf—it’s practically magic.
Suitable Species for Leaf Cuttings
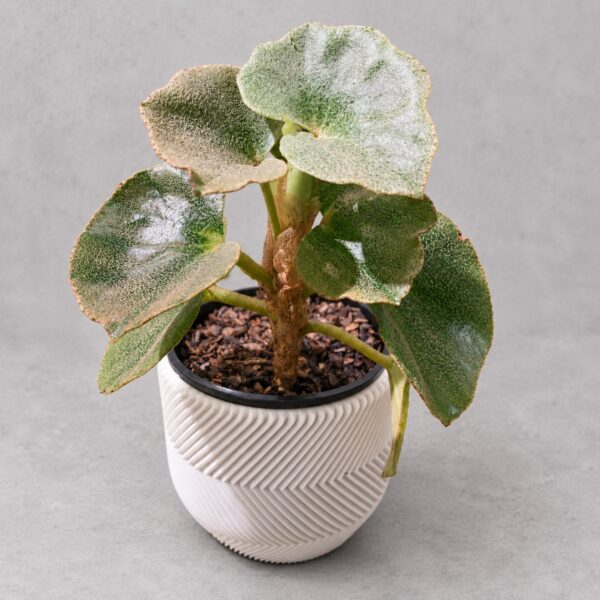
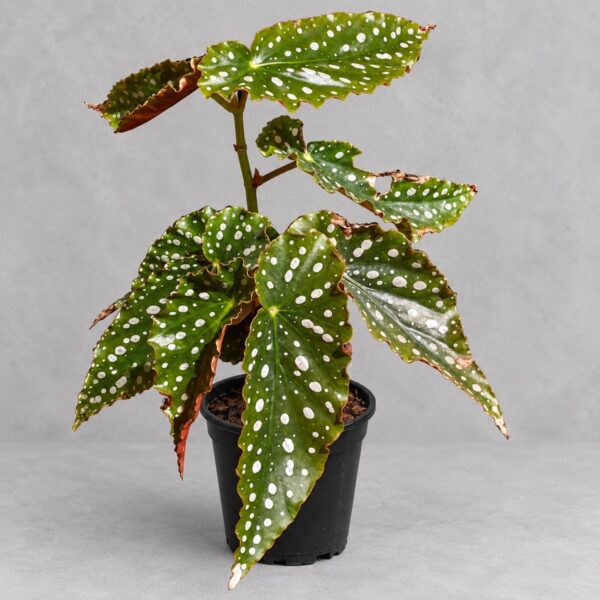
– Begonia: Some species like rex begonias can be propagated by inserting a leaf with its petiole into soil, or by scoring the leaf blade and laying it flat on the soil surface—plantlets will emerge from wound sites.
– Sansevieria: Cut leaves into approximately ten-centimetre sections, remembering which end is up (upside-down sections won’t root). Insert into sandy, well-draining soil; after about a month, new roots and shoots will emerge from the base. Note that variegated cultivars propagated this way may revert to green (losing their variegation).
– Saintpaulia (African Violet): Insert a leaf with its petiole at an angle into soil; after six to eight weeks, tiny plantlets will emerge from the petiole base.
– Certain succulents: Such as Echeveria and Kalanchoe, dropped leaves placed on soil surface will readily root and sprout.
The key to leaf cuttings is maintaining high humidity with adequate ventilation, preventing the leaf from rotting before roots develop. Clear propagation boxes or plastic containers are excellent tools.
Division: The Easiest Copy-and-Paste
If you have a clumping plant, plant division is the simplest and safest propagation method. No waiting for roots, no worrying about cuttings rotting—simply “split in two” and turn one pot into many.
Suitable Plants for Division
– Aglaonema (Chinese Evergreen): Naturally produces side shoots at the base, which can be separated once sufficiently developed.
– Chlorophytum comosum (Spider Plant): Plantlets develop at the ends of stolons—simply snip and pot them up.
– Spathiphyllum (Peace Lily): Roots naturally multiply forming clumps, which can be divided during repotting.
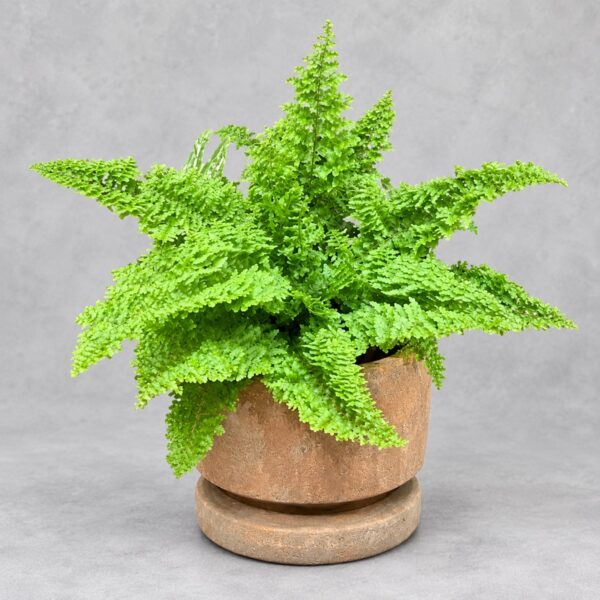
– Ferns: Many ferns spread via rhizomes producing new plantlets that can be separated.
The Division Process
The best timing is during repotting (spring through summer). After removing the plant from its pot, gently tease apart the root ball to find natural division points—there’s usually a clear separation between individual plants. Separate them by hand or with a sterilised knife, ensuring each division has adequate roots. Pot separately, water in, and you’re done.
Division has nearly zero failure rate because each new plant already possesses a complete root system from the start, bypassing the vulnerable rooting phase.
Layering: Letting the Plant Root Itself
Layering is a “don’t cut, root first” strategy, particularly suitable for plants with woody or thick stems, such as Monstera deliciosa and large Philodendron specimens.
Air Layering Steps
Select a stem section with a node. Make a circular cut removing a ring of bark about one centimetre wide below the node, exposing the green cambium layer beneath. Wrap the wound with moist sphagnum moss, then enclose tightly in plastic film (secure both ends with twine or tape), keeping the moss consistently moist. After four to eight weeks, white roots will become visible through the plastic.
Once roots are sufficiently developed, cut below the layering site and pot up the rooted section. This method has extremely high success rates because the cutting develops its own roots while still attached to the mother plant.
Key Factors for Propagation Success
Regardless of method, three environmental conditions determine success:
Temperature: The optimal propagation temperature is approximately twenty to twenty-five degrees Celsius. Below fifteen degrees, cellular activity decreases and rooting becomes extremely slow. Above thirty degrees, rotting becomes likely.
Humidity: High humidity (sixty to eighty percent) minimises water loss from cuttings, allowing the plant to direct energy toward root development rather than survival. Propagation boxes, plastic bags, or regular misting are all effective approaches.
Light: Bright, indirect light is ideal—avoid direct strong sun. Insufficient light slows rooting; excessive light increases transpiration stress. East-facing or north-facing windowsills are typically ideal locations.
Common Causes of Failure and Solutions
Cutting rots: Usually bacterial infection or excessive humidity with poor ventilation. Solution: use sterilised tools, select healthy mother plants, improve air circulation.
No rooting: Temperature too low, naturally slow-rooting species, or poorly selected nodes. Solution: confirm appropriate temperature, try a different node, use rooting hormone to assist.
Post-rooting transplant failure: Environmental change too drastic when transitioning from water to soil. Solution: gradual transition (add some soil to the water first, letting roots acclimate), maintain high humidity after transplanting.
Conclusion
Propagating plants delivers a uniquely satisfying feeling. You witness a life coming into being, and it’s a process you created with your own hands. When friends visit and exclaim over that Monstera you raised from a single cutting, the sense of achievement is a hundred times stronger than simply buying a mature plant.
Many plants in the Archive were “delivered” this way. Each has a story; each is an experiment. With propagation, failure just means trying again; success gives you a new life carrying your personal imprint.
Ready to start your propagation experiment? plantjai.com offers a selection of healthy mother plants suitable for propagation, along with propagation media, rooting hormone, and other supplies. You can also bring your questions to our Causeway Bay store—we’ll give you practical advice tailored to the species you want to propagate. After all, in the Archive, every new life deserves a proper welcome.
IN STORE NOW
Plants for this guide
Related plants in stock now — live prices, delivery or Causeway Bay pickup.
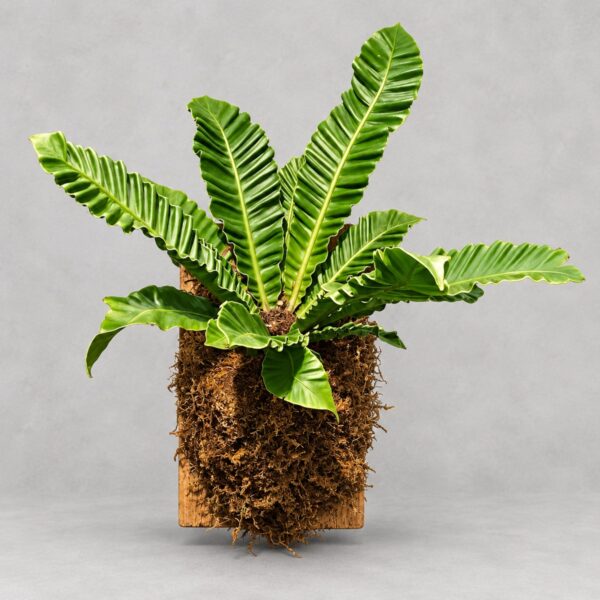
Asplenium nidus var plicatum
Original price was: HK$428.00.HK$180.00Current price is: HK$180.00.
In stock · store pickup
View plant
FREE PLANT ADVICE
Send us a photo before you change anything
WhatsApp a photo of the plant and your window light. Our Causeway Bay team will suggest care steps or plants that suit your space.
STORE · CAUSEWAY BAY
4/F, 39 Yiu Wa Street, Causeway Bay
Daily 12:30–8:00pm · ~3 min walk from Times Square
Map & directionsPlant 101