
Repotting Timing and Techniques: When Should You Give Your Plant a New Home?

Introduction
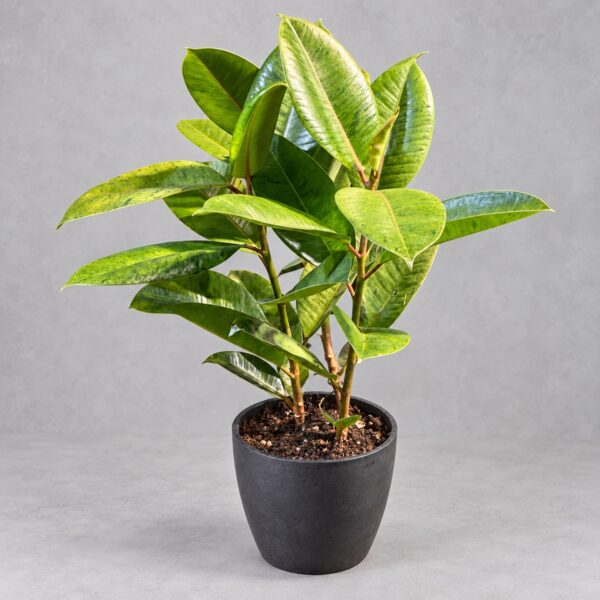
A few days ago, while organising the Archive, I found myself staring at a Ficus elastica (Rubber Plant) for quite some time. It had lived in the same pot for three years. The leaves were still green, but new buds were emerging ever more slowly, and the soil dried out within two days of watering. I knew—it was telling me in its silent way: the time has come.
Plant repotting is something many beginners get wrong, either by being too eager (repotting immediately after purchase) or too passive (only acting when the plant is clearly struggling). The repotting itself isn’t difficult; the challenge lies in judging the right timing, and helping the plant adapt afterwards. Today, let’s explore the complete science of repotting.
Five Signals: Your Plant is Knocking, Saying “I Need to Move”
Plants don’t speak, but they communicate through various signs. If any of the following five symptoms appear, it’s time to seriously consider repotting:
Signal One: Roots Peeking Through Drainage Holes
This is the most unambiguous signal. When you see white root tips poking out from the bottom drainage holes, it means the root system has completely filled the pot and has nowhere else to go. Without a larger home, roots will begin circling and girdling themselves, eventually compromising water and nutrient uptake efficiency.
Signal Two: Soil Dries Rapidly After Watering
Where watering used to last five to seven days, now the soil dries within two. This typically indicates that roots have occupied too much soil space, leaving less water-retentive medium. Water is absorbed and depleted rapidly—particularly noticeable during summer.
Signal Three: Growth Has Stalled
Light, watering, and feeding haven’t changed, yet the plant seems paused—no new buds, no new leaves, or leaves that do emerge are noticeably smaller than before. This often means the roots have run out of room to expand and can no longer support larger above-ground growth.
Signal Four: Medium Has Decomposed
Soil used for over a year gradually breaks down, becoming compacted. The original granular structure disappears, and drainage and aeration decline sharply. Test with a bamboo skewer—if you meet significant resistance and the soil feels dense, the medium has aged. Such soil holds too much water and risks root rot, so replacement is warranted even if the plant hasn’t outgrown its pot.
Signal Five: Plant is Top-Heavy
This is the most visually obvious signal—the plant is large enough to potentially topple over, the pot can no longer support its volume, and proportions are seriously unbalanced. Don’t hesitate: it needs a more stable home.
Best Season for Repotting: Working With the Plant’s Biological Clock
In principle, spring through summer (March to September) is the ideal repotting window. During this period, rising temperatures and ample light keep plant metabolism vigorous, root recovery and growth are fastest, and the post-repotting adaptation period is shortest.
Autumn and winter repotting should generally be avoided. With weaker light and lower temperatures, plants are already in semi-dormancy. Disturbing roots now is like waking someone from sleep and asking them to sprint—recovery is slow and risks are high. Unless it’s an emergency (such as severe root rot requiring immediate rescue), wait until spring.
Hong Kong’s air-conditioned environments provide some flexibility. If your indoor space maintains temperatures above twenty degrees year-round with adequate light, autumn and winter repotting isn’t impossible—but observe the plant’s growth state first. If new buds are active, it means the plant is still “awake,” and repotting is safer.
Pot Selection: More Than Just “One Size Up”
The Science of Size
The most common beginner mistake is choosing a pot “much too large.” Bigger is better? Wrong. An excessively large pot holds more soil, which retains moisture longer than the roots can absorb, leading to waterlogged conditions and root rot. The correct approach: the new pot diameter should be just one size up—approximately three to five centimetres larger, never exceeding 1.5 times the original pot diameter.
For example: from a fifteen-centimetre pot, move up to eighteen to twenty centimetres. If the plant has truly outgrown its space, upgrade in two stages, allowing roots time to adapt at each step.
Material Comparison
Terracotta (unglazed clay): Superior breathability and drainage—water evaporates through the walls, preventing waterlogging. Downsides: heavy, fragile, and faster moisture loss means more frequent watering. Ideal for rot-prone plants like Sansevieria.
Plastic: Lightweight, inexpensive, unbreakable, with better water retention. The downside: no breathability, and small drainage holes can lead to standing water. Choose pots with multiple, generously-sized drainage holes.
Glazed ceramic: Aesthetically pleasing but the least breathable, usually with only one small drainage hole. Best used as a “cover pot”—plant in a plastic pot and place inside the ceramic for decoration. If planting directly, ensure drainage holes are clear and add a generous drainage layer at the bottom.
Cement: A trendy industrial-style choice with unique texture, but extremely heavy and alkaline (new pots release lime). Soak thoroughly before use to leach out alkalinity. Suitable for larger specimens.
Step-by-Step Repotting: From Removal to Settling Water
Step One: Preparation
Water the plant one to two days before repotting, moistening the soil slightly (not wet, not dry)—this makes removal easier and reduces root damage. Have ready: the new pot, fresh medium (professional foliage plant mix recommended), scissors, and optional fungicide.
Step Two: Removal
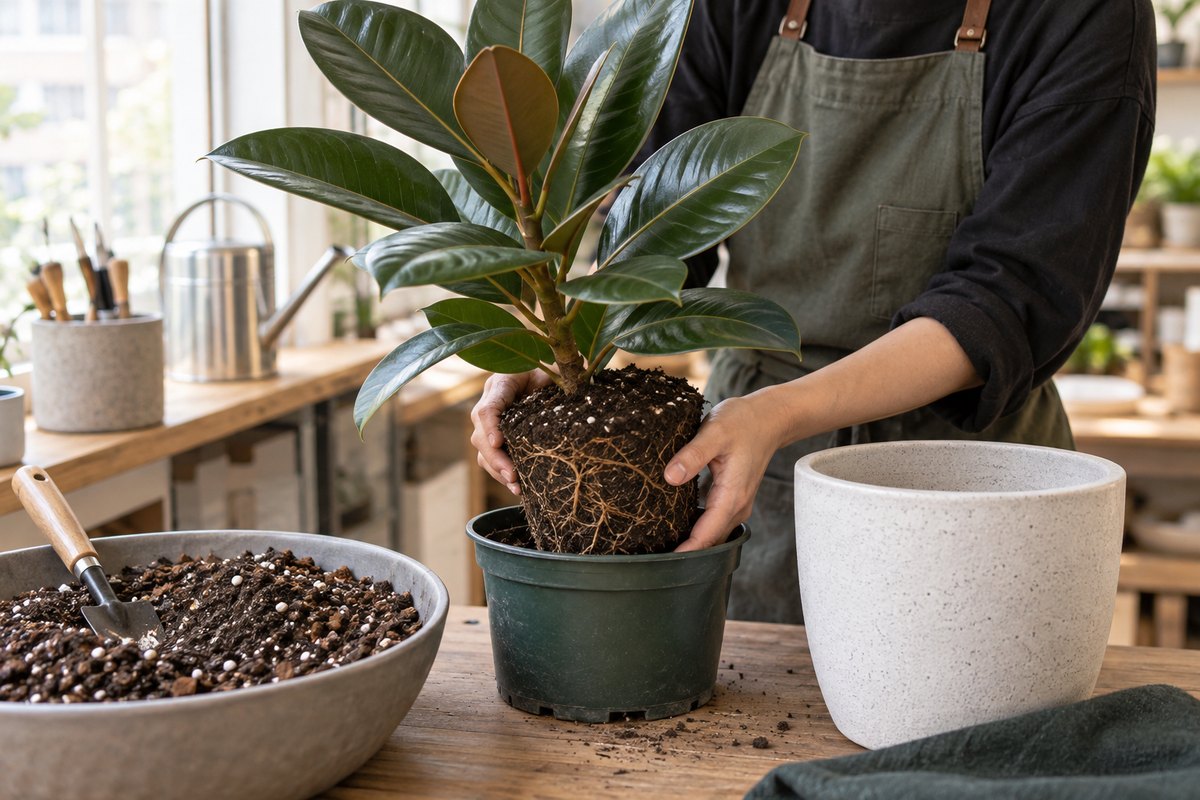
Support the plant stem with one hand, invert the pot with the other, and gently tap the bottom and sides until the root ball loosens and slides out. If roots have fully colonised the pot, be patient—use a knife to trace along the inner wall if necessary. Never pull forcefully; that tears countless root hairs.
Step Three: Inspect and Tidy Roots
This step is critical. Gently loosen old soil from the edges of the root ball and inspect root condition. Healthy roots should be white or cream-coloured, plump and firm. If you find brown, mushy, or hollow roots, trim them with sterilised scissors—this is “root pruning.” After trimming, dip cut surfaces in cinnamon powder or fungicide to aid healing.
If roots are severely circling (coiled like a plate), gently tease apart the outer roots, or make several vertical cuts to break the circling pattern and stimulate outward root growth.
Step Four: Add Fresh Medium
Place a two to three centimetre drainage layer (clay pebbles or gravel) at the bottom of the new pot. Add a layer of fresh soil, position the plant centrally, and adjust height—the root collar (junction between stem and roots) should sit level with or slightly above the new soil surface. Never plant deeper. Fill in fresh soil from the sides, pressing gently to secure the plant upright.
Step Five: The Settling Water
After repotting, water thoroughly—the “settling water.” Let water flow from the drainage holes, helping new soil settle firmly around roots while rinsing away excess dust. If soil settles exposing roots, top up with more medium.
Post-Repotting Care: The Critical Adaptation Period
The one to two weeks following repotting are the plant’s “adaptation period.” How you care for it during this time determines the success of the entire operation.
Avoid direct strong light: Freshly repotted plants have damaged roots with reduced water uptake capacity. Under strong light, leaf transpiration exceeds supply, causing wilting. Place in bright, indirect light and let the plant recover gradually.
Hold off on fertiliser: Fresh soil typically contains baseline nutrients, and wounded roots are vulnerable to fertiliser burn. Wait three to four weeks until new growth activity resumes before returning to normal feeding.
Monitor recovery: Some mild wilting after repotting is normal “transplant shock.” Keep soil lightly moist and the environment stable; most plants recover their vigour within a week. If wilting persists beyond two weeks, root damage may be severe or something went wrong during repotting—inspect and adjust care accordingly.
Conclusion
Repotting isn’t something to be taken lightly, but it’s not as intimidating as imagined. Mastering the timing, pot selection, and correct technique puts you halfway to success. The other half is patient observation and attentive care in the days that follow.
Whenever I repot a plant in the Archive, I silently wish it: “Grow even better in your new home.” It sounds a bit silly, but I believe plants sense your care—at least, that’s what I choose to believe.
If you’re unsure whether your plants need repotting, or have questions about pot selection and medium matching, visit plantjai.com to explore our repotting services, or bring your plants directly to our Causeway Bay store. The Archive team can assess on-site and help your green companion find its perfect new home.
IN STORE NOW
Plants for this guide
Related plants in stock now — live prices, delivery or Causeway Bay pickup.
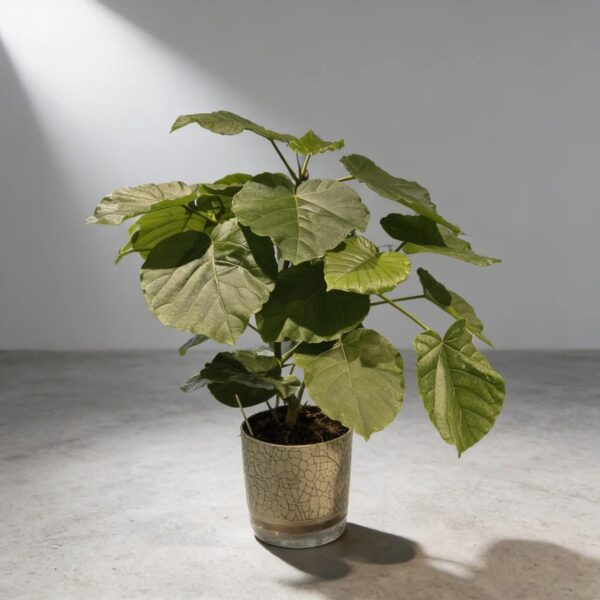
Ficus elastica 'Shivereana'
Ficus elastica 'Shivereana'
from HK$198.00
In stock · store pickup
View plant
FREE PLANT ADVICE
Send us a photo before you change anything
WhatsApp a photo of the plant and your window light. Our Causeway Bay team will suggest care steps or plants that suit your space.
STORE · CAUSEWAY BAY
4/F, 39 Yiu Wa Street, Causeway Bay
Daily 12:30–8:00pm · ~3 min walk from Times Square
Map & directionsPlant 101